Add, remove & assign phone numbers on demand
Manage, respond to, and share calls with your team
Send & receive any message you need to
Keep contact details in one place with a shared phonebook
For on-the-go teams to share messages, calls, and contacts
A full directory of all our included features
Creating a Google My Business listing for your business
There are many benefits to having a Google My Business listing (better Google Search placement is one of them), and by using Chalkboard, you can quickly get your customers to start reviewing your business. Creating a Google My Business listing for your business is free.
This guide will explain exactly how you can set up your own Google My Business listing. Expect it to take around 10 minutes (but you may need to wait a few days to be fully verified).
As soon as you’ve got your business listing, you can connect to Chalkboard straight away and start collecting reviews. There are links at the end of the guide to explain what things you can do to improve your listing further, but for now we’ll focus on getting a tidy and functional Google My Business listing up and running.
If you don’t yet have Chalkboard, it’s free to trial and will help you to get more local business reviews through Google and other sites. You can try it for free.
You will need a Google account before you can start to add a listing. If you already use Gmail, have an Android phone, or use other Google products, you probably already have a Google account.
To start, head over to business.google.com/create.
If you’re not signed in or need to create an account, you’ll see Google’s sign in screen.
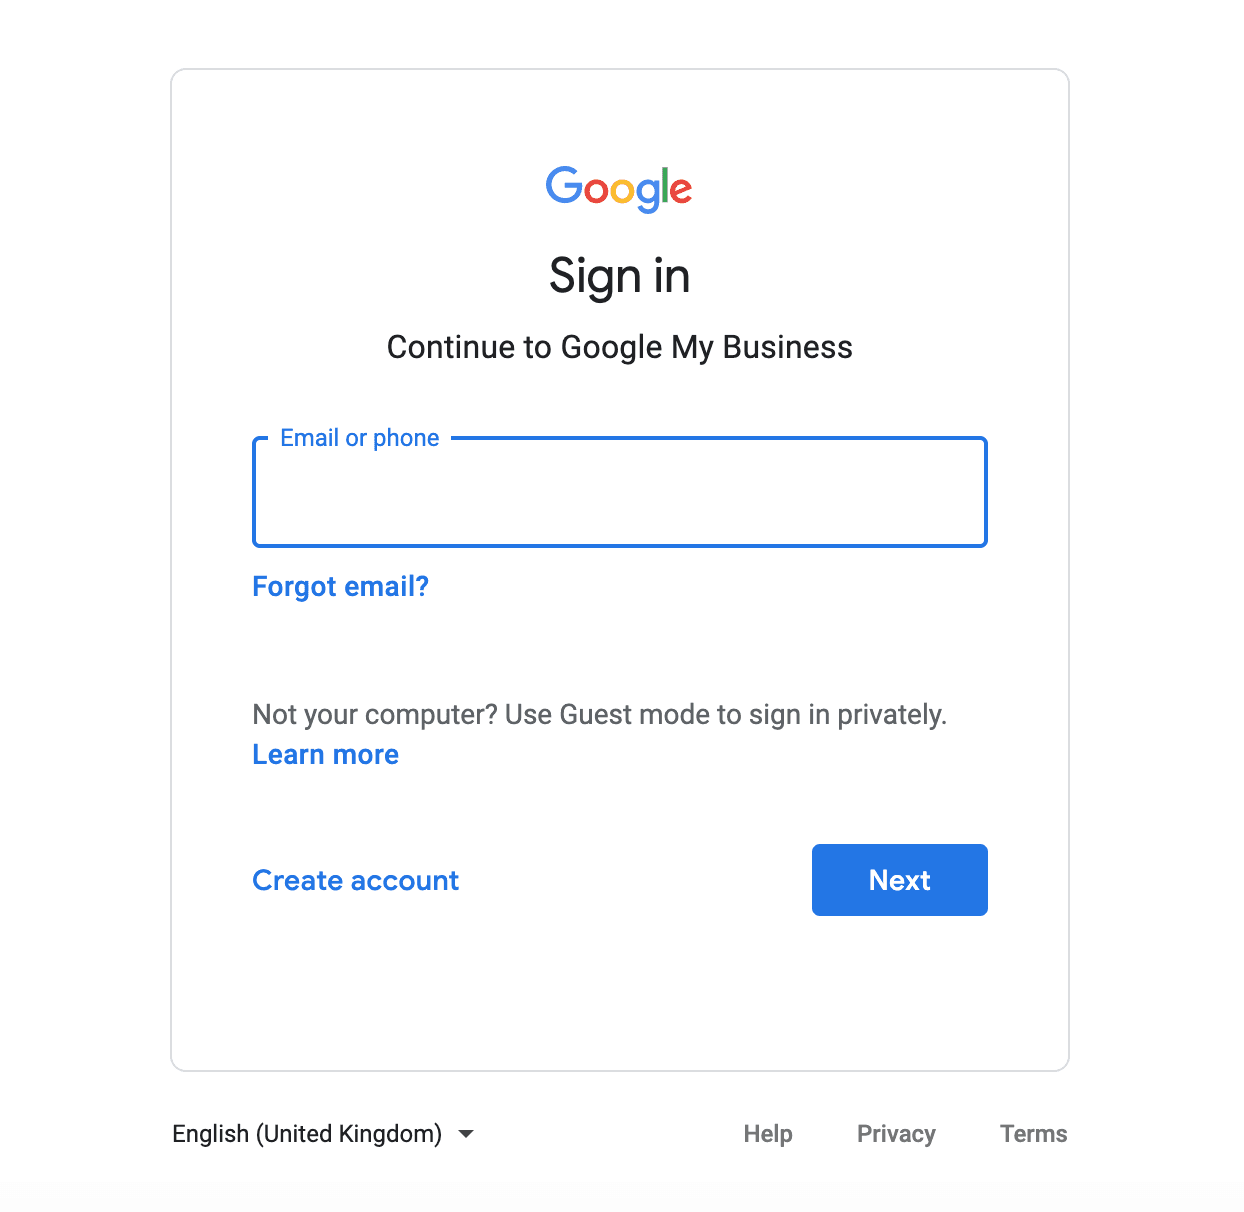
From here, either provide your Google sign in details, or click Create account to create an account now.
Once you’re signed in, you’ll see a page prompting you for your business name.

Type the name that your customers would know you as. You’ll see existing business listings with similar names, and/or an option to Create a business with this name.
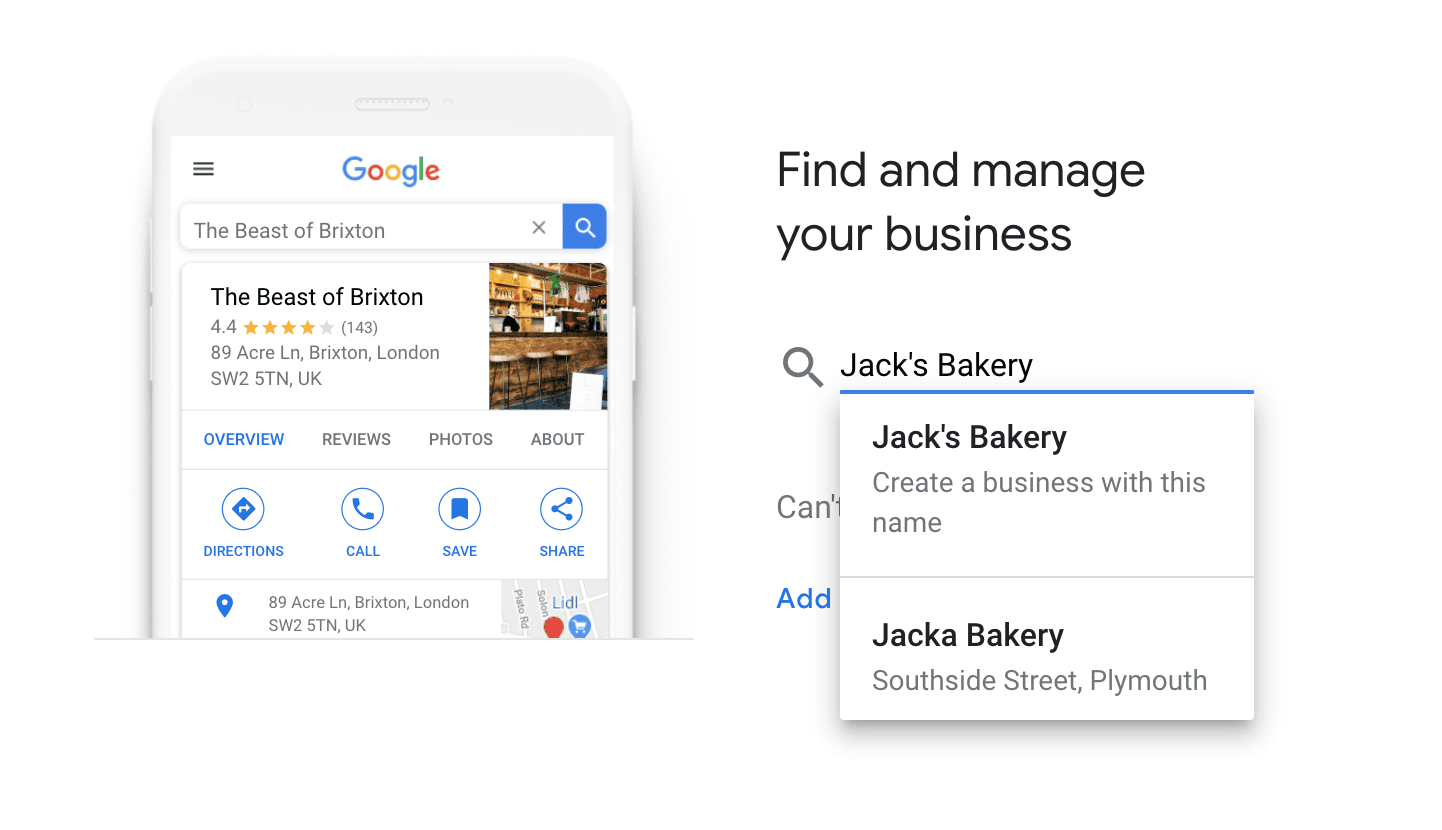
If you can already see your business in the list, select it. If not, choose to Create a business with this name.
If you see your business in the list, and after selecting it see a page saying “This listing has already been claimed”, you will need to either locate the Google account that you signed up with (Google’s account recovery may help), or request access from another account (for example, if another person, employee, or previous business owner claimed the listing before now).
The next step is to confirm the business name. Once you’re happy with it (and accept Google’s terms and other legal bits), click Next.

Next, Google will ask you to choose a category that your business fits into. Think of the category that your customers would most expect you to be in.

Start typing to see matching categories, and when you’ve chosen one, click Next.
The next thing to do is tell Google about your location. As a local business, it’s very likely you’ll have a shop, office, or other premises that you welcome customers to. But it’s up to you to choose if you want to do that. If so, click Yes and Next.

On the next step, provide your address, and click Next.
Google may present other businesses at the same or similar addresses. If you can now see your business listed, select it. Otherwise, click None of these, and then Next.
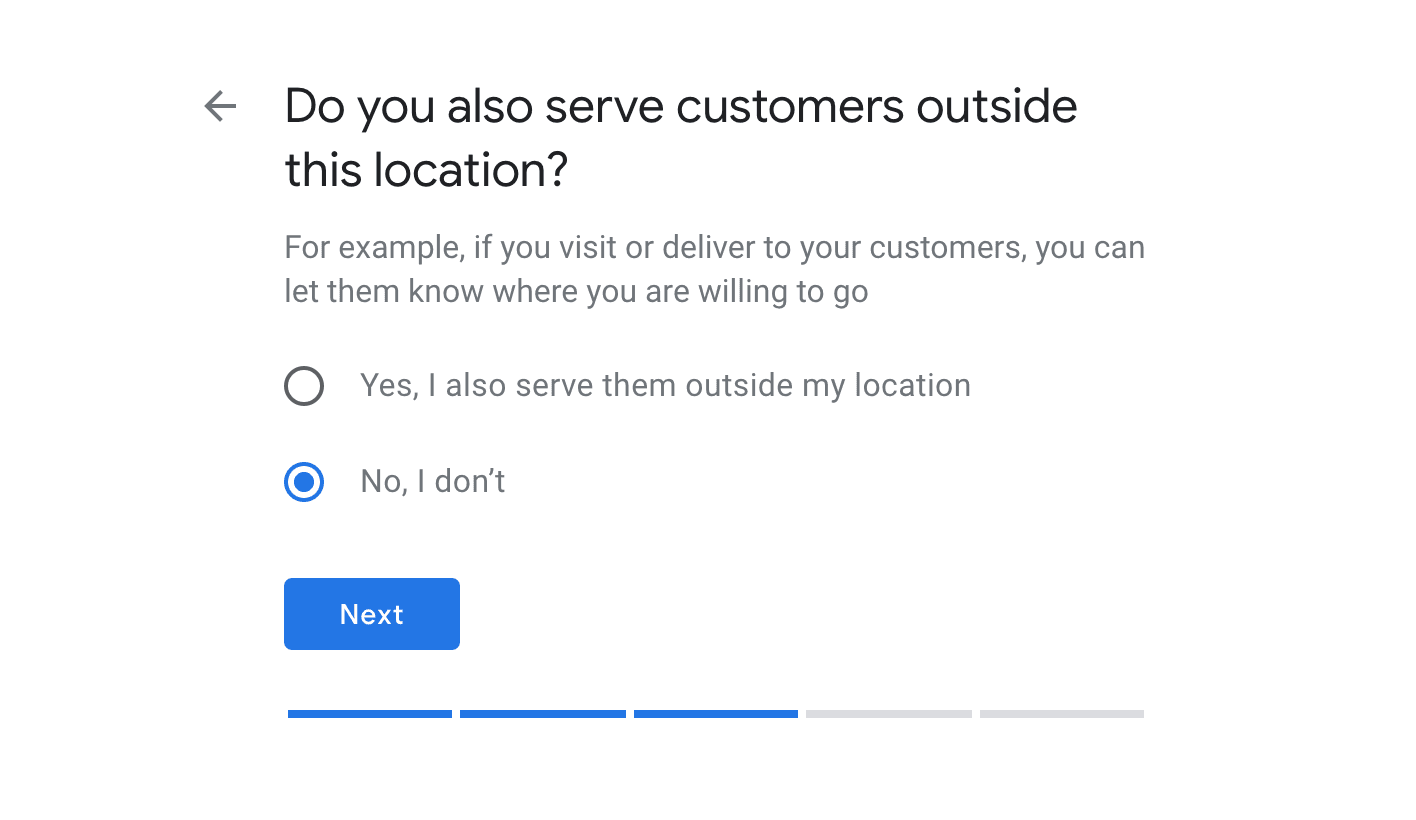
Google will next ask if you visit or deliver to customers, and if so, where you deliver to or which areas you serve. Make a choice and click Next. If you choose Yes, Google will ask for more details.
The next step is to provide a phone number and website address (if you have one). Google can even create a basic website for you too.
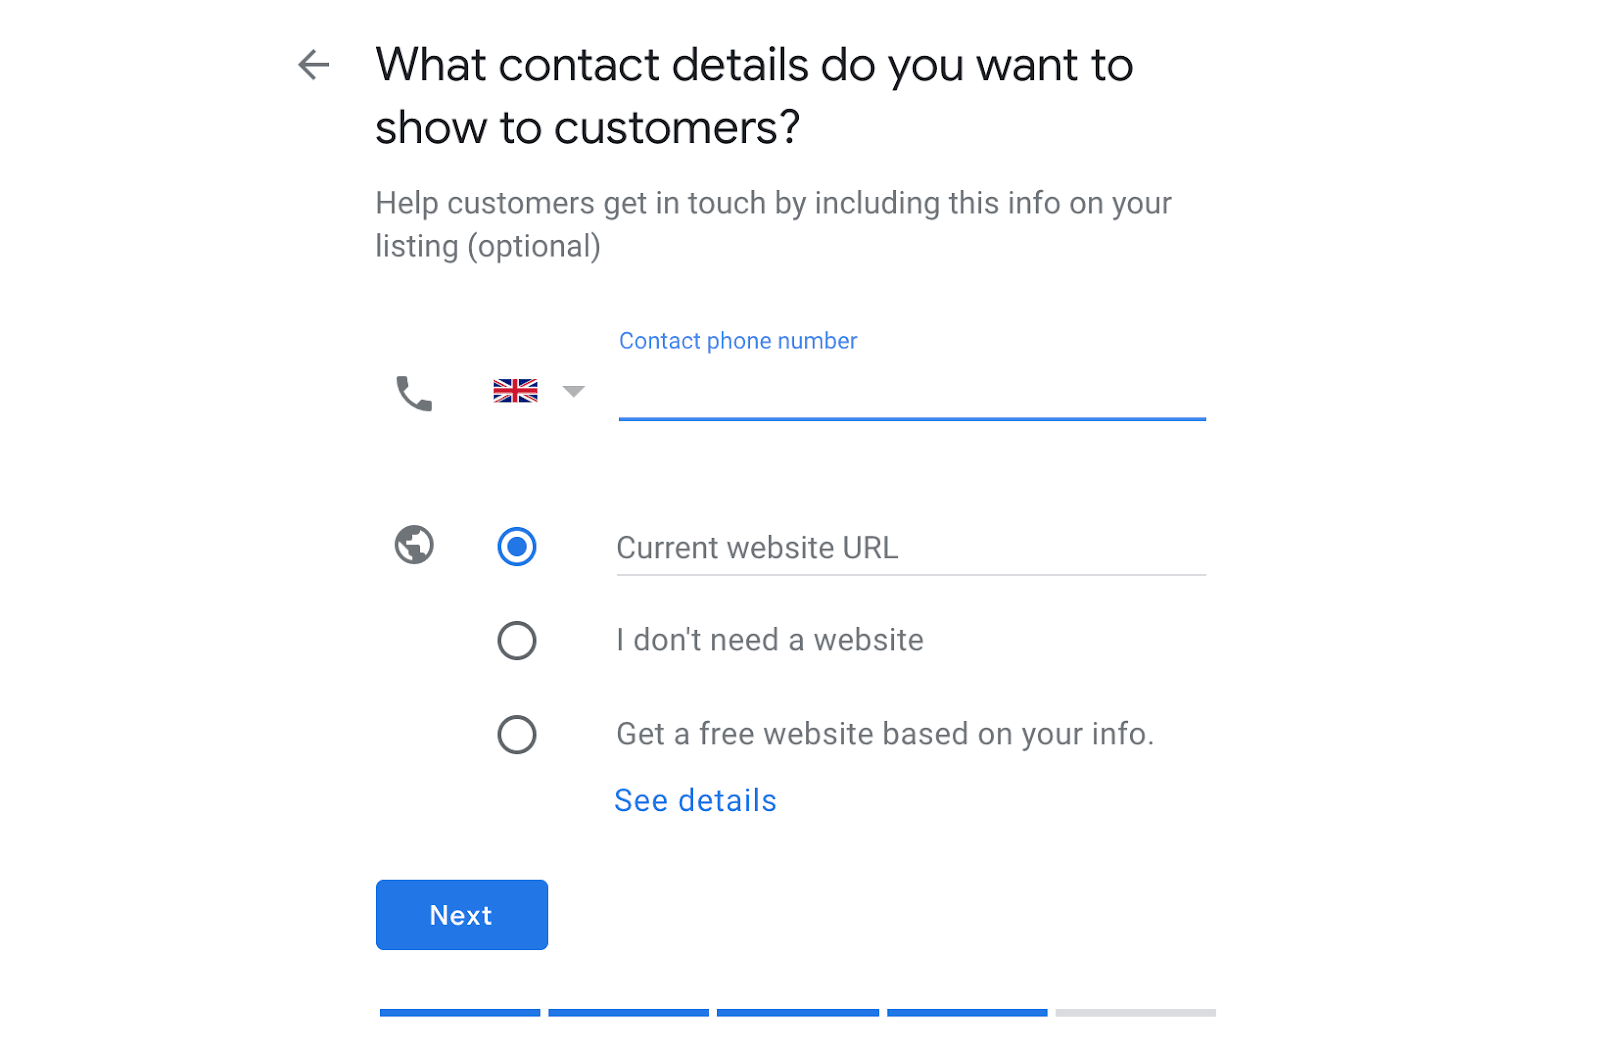
When you’ve entered your details, click Next to continue.
Google will finally confirm that you’re ready to finish and manage the listing. Click Finish to complete the setup.
Before your listing becomes live to the public, it will need to be verified. The most common way to do this is to wait for a postcard to be sent to your business address. It normally just takes a few days to arrive.
Unfortunately it’s not possible to avoid this delay (if you have a location). But as soon as you receive the postcard, you can verify the listing and you’ll be ready to go.
To request the postcard, type a contact name, then click Post. Come back here once you have the postcode and have followed the instructions that come with it to complete verification.
You can also choose to request the postcode later if you prefer. If so, click Later.
Once you’ve completed verification, your business will be listed on Google. There are a few other quick things we’d recommend doing (please read on if you have time), but you’re now ready to connect Chalkboard.
If you don’t yet have Chalkboard, you can get it for free here.
Please open the Chalkboard app, and on the dashboard you’ll see a Google panel. Click Connect and follow the steps to link your new Google My Business listing up to Chalkboard. If you can’t find a way to connect on the dashboard, click Settings on the menu, then click Connected Accounts.
You’ve now got all the basics covered, as you have a verified Google My Business listing, with all of your basic business information.
So you’re definitely ready to start using Chalkboard to help your customers review you. Just by generating reviews, you’ll be strengthening your Google listing and giving your business a better chance to be found in Google Search or Google Maps.
There’s still other things you can do to improve your Google presence further. We’ve linked to other useful content to help you to do this.
- Don’t forget: Link up Chalkboard and start requesting reviews!
- Make sure you’ve completed all the information you can.
- Add photos or videos to your listing.
- Keep your business hours accurate.
- Make sure the Street View imagery of your business is correct.
- Add more categories.
- Add other attributes to your listing.
Updated 1099 days ago.
If you can’t find an answer here, you can always contact our friendly team through the Chalkboard app. Click Settings, then Contact us.
Alternatively, you can email us on [email protected]